Friday, January 28, 2011

Creating a splash!

A back splash, that is. When we pulled this beauty out of the kitchen,


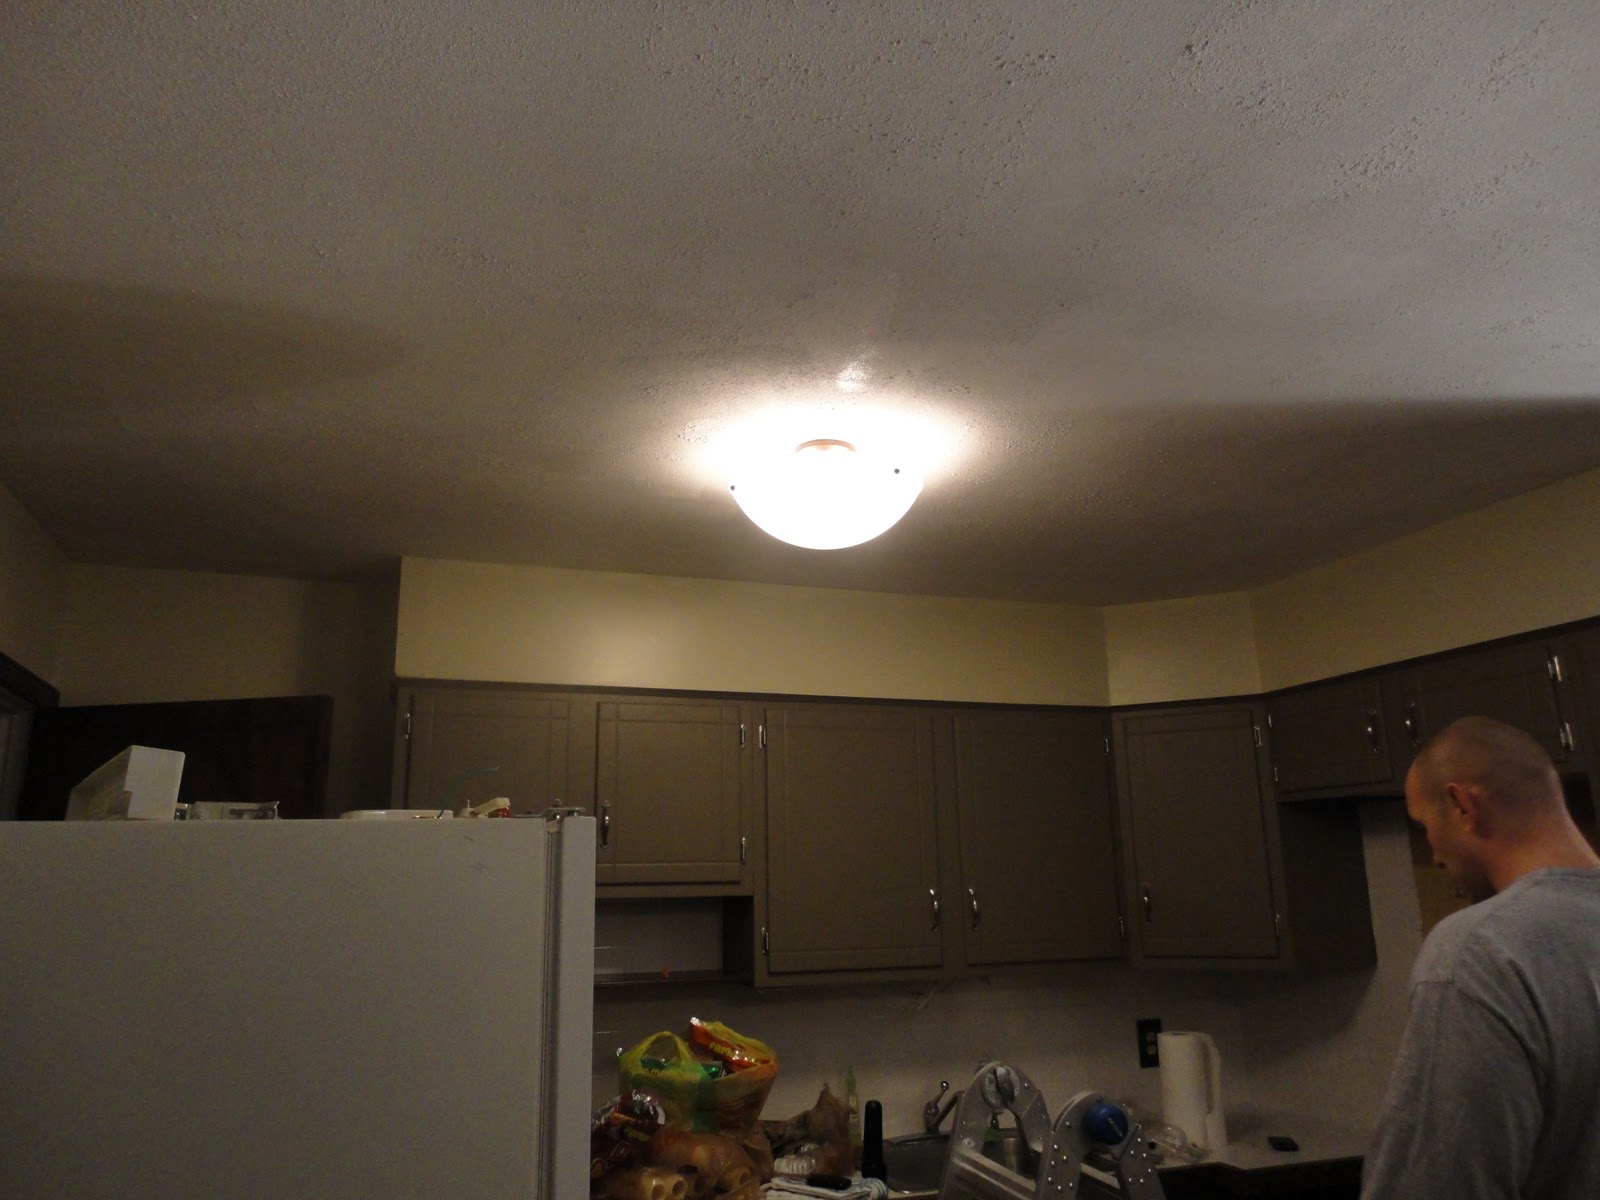
We found an unfinished wall like this:


You see, the Caloric Microwave/Oven combo covered the wall from floor to ceiling, leaving a back splash or any kind of wall covering unnecessary for the previous owners. With our new appliances being delivered tomorrow (YES TOMORROW!!), we needed a solution for the open space that would be created by our new-aged, non-connected microwave and range.

One day a few weeks ago, I was showing my mom the mosaic tile we bought for the bathroom wall. We happened to be looking at it right next to that big gaping hole in the cabinets. She asked why not use the same tile for the back splash. Genius I tell you. Genius (don't tell her I said that, I'll never live it down). The tile coordinates perfectly with the cabinets, walls, floors and just about everything. So this tile was going to be our back splash:

 
It's a recycled glass mosaic from home depot. We decided to learn to tile a little sooner than we had planned. We went back to home depot for the 4th time that week and picked up more tile. We also checked with one of the employees as to what they recommended we use to lay the tile. Unfortunately we were at the Absecon Home Depot, where Bill swears they hire anyone. So we were pretty much on our own.

Side note: Once we asked one of the employees about a certain floor tile for the bathroom. The tile was on the other side of the store, so the guy walked with us over to it. Bill asked him questions about the tile the whole way there (I know, Bill talking, shocking). When we got to the tile display, the guy said "This is floor tile. Is there anything else I can help you with?," and walked away. We left there and drove out to the EHT Home Depot.

We started by cutting out the half pieces of white back splash tile they had on the wall. It was so nice of Bill to buy his dad a tool that cuts tile for Christmas.


Of course, we're all about the proper attire. (It's all about style...)

We measured and measured and measured again (BTW I totally used this project as an example for area and square footage in class this week). We marked exactly where we wanted the 12 x 12 squares, then started applying the adhesive.


Then we started applying the tile:

And then we started grouting:

Of course, I had to give it a whirl. (How many of you think Home Alone when you hear "Give it a whirl?")

Then we waited and waited and waited... and ended up with this...


We are beyond thrilled with the way it turned out! We can't wait to see the finished product tomorrow with our appliances in place! We are about to have our first complete "Before and After!!!" Check back for the big reveal!

Thursday, January 27, 2011

(Re)Finishing the Floors: Part 5

Betcha thought we were done after part 4, huh? So did we. And then we started to get nervous about the floors. We got our first knick. Then our second. All the salt from the snow started getting tracked in. We needed to do something to protect the floors while we continued to work on the rest of the house.

We consulted our personal interior decorator, Uncle Greg. You don't know Uncle Greg? Meet Uncle Greg (and Bill's mom-mom):


Uncle Greg said COVER THOSE FLOORS!! (duh) So we picked up some floor paper at home depot and got to work.

We cleaned the floors completely; swept, vacuumed, swiffered (with our non-swiffer, awesome hardwood floor cleaner my mom suggested we pick up at Sam's):


The non-Swiffer is about twice the width of a regular Swiffer and has two machine washable pads.

Then we got to work on laying and taping the paper:

 
We got the kitchen and living room covered. Then I foolishly offered to take on the stairs. Dumb, dumb, dumb. Here I am, optimistic about my job:

I got about this far:

...Until I decided it wasn't working. I mean, it was working but it was totally going to come undone the first time someone walked on it. I had visions of skipping down the steps and wiping out on loose paper and ending up looking like this guy:


So I changed methods and ended up with fully covered stairs:


It may not be pretty, but it's still holding strong. And with that, I hope to not post about the floors again until it's time to pull up the paper and move in!

Tuesday, January 25, 2011

Feeling Blue...

As I've mentioned before, we have some absolutely gorgeous blue carpets upstairs. Replacing them just isn't in the budget for right now, so we decided to spruce them up a bit by giving them a good cleaning.

I know what you're thinking, "Really Shana? A blog post about cleaning the carpets?" You betcha. There was a lot of action during the whole process. Let me tell you about it...

We started out by moving all of the furniture in the rooms to one side:


Then we vacuumed.


...and broke Bill's mom's vacuum. I swear it wasn't my fault- the plastic spinny piece (technical term) spontaneously combusted. She was nice enough to bring us her backup vacuum from Seatots. I continued vacuuming...

Isn't this story awesome?! Don't worry, there's more.

Next, my mom started shampooing the rugs... It was comforting to find that there really wasn't much coming out of the carpets but sand. At least we know our smurfy carpets were clean.

It was going really well until the rug shampooer started gushing soapy water all over the carpet. So we started by checking underneath the shampoo-er...


Then we opened her up...


No blockage there! So we dug a little deeper...


We went where only "Certified Technicians" should go. And what did we find? Nothing that seemed to be causing the leak. So we cleaned him out, put him back together, turned the big guy back on, and... no more leak!

and voila! clean carpets:


(We are aware they look exactly the same, but knowing they're clean makes us feel so much better!)


I'm sure we can all agree that this story rivals some of the classics. Everybody Poops has nothin' on us!

Friday, January 21, 2011

Color Splash Brigantine

Yeah that's right, I just made an HGTV pun. I'm that lame.

When it came to paint color selection, I was a little nervous. You see, I came from a house with Barbie pink kitchen walls (though that only lasted a few years) and a bedroom that I was allowed to paint anyway I chose. For example, during high school I chose to sponge paint my walls two shades of blue with neon green molding. Bill, however, came from a house with all white/beige walls. I've always assumed I'd have to fight for some color...

I was wrong :)

Bill and I both wanted to paint the living room, kitchen, hallway and staircase the same color. We also immediately agreed we'd rather paint the walls beige incorporate color in the way we decorate. We went with Benjamin Moore paint like the cabinets.

A clean palette:


The woodwork will all be painted the same color as the walls.

When it came to choosing the bedroom colors, I was excited that Bill was game for adding a little color. We decided for the bedrooms we'd use Behr paint from Home Depot to save a little money. We chose a steel blue called "flint smoke" for the front bedroom downstairs that we're planning on using as a guestroom:


In the back bedroom downstairs, what we'll use as an office, we chose a green color called "false cypress."


We plan on painting the trim in the downstairs bedrooms white... that is, once we install molding! We also chose the paint for the upstairs bedrooms, aka the master suite. We had more of a challenge with this one- let me remind you of the flooring upstairs:


The blue carpet upstairs threw a wrench into all of our color plans. We went back and forth on colors and finally settled on a nice shade of barely-there silver called "Irish Mist." I don't have any pictures to share yet- Bill is at the house right now putting the first coat on the walls... (We all know how useful I am on Friday nights).

It may not seem like a lot of color, but it's exactly what we were both picturing! We especially like how the blue and green pop next to the dark walnut floors.

Up next: We shampoo carpets!! Wooohoo... it's as wild as it sounds!

Wednesday, January 19, 2011

Let There Be Light!

One of the smaller improvements we wanted to make was to the light fixtures in the house.

Our hall light wasn't terrible, apart from all the gold and shiny glass, but it was doomed from the beginning. It "fell" off the ceiling and shattered into a million tiny pieces. So we started by picking up a small fixture from Ikea:


A nice simple, clean look for our hallway.

If there's one thing our new house doesn't lack it's air circulation. The kitchen came equipped with these two beauties:


One over the cabinets and appliance space and one over the eat-in part of the kitchen...


They're great fans, just not quite our style. There are actually two more of the exact fan upstairs in the bedrooms:

 (Yes, that's Big Bill in his P.J.'s)

So it wasn't long before this happened:


We decided to replace the fan over the counters with a plain light fixture. Something about a fan over where we'll (yes WE) be cooking skeeved (again, apparently not a word... it's OK- Shakespeare was allowed to make up words... Dr. Seuss too... I think...) me out. We found this one at Home Depot:

 (Bill totally regretted asking me for help up on the ladder as soon as I started taking these pictures)
The finished product:

We had no real trouble installing these lights, but we knew installing the fan could be over our heads. (heh). No big deal, Bill started by hooking up the motor, while I had the incredibly important job of breaking down styrofoam and connecting the blades to their hinges:


We spent about 10 minutes deciding whether or not the fan should be flush to the ceiling and then another 45 minutes reading and re-reading the directions. We finally got everything installed...

 Checked the lights...
Bingo!
...and then the fan...

...NOTHING. Nothing Nothing Nothing! It was about 10 p.m., I was exhausted and needed to be up in 7 hours for work. I tried to convince Bill we'd try again the next day. He couldn't walk away. Luckily we had both our cars there, so I went home. About 2 hours later I received a video message with a working fan and a lot of profanity that I can't possibly post here. But I'll give you the gist: Bill fixed the fan and now owns it and is very proud :).

Anywho, we still have two fans upstairs to replace and are thinking about selling the whole lot on craigslist... I mean who wouldn't want 4 matching white and gold fans?!  ;)